Each time we visit my parents' house, I can't help but dig into the pile of magazines carefully arranged on the coffee table while siting in the family room ... Mom gets such a varied collection - quilting, artful sewing, Minnesota Monthly, catalogues, you name it ... there's probably one in the stack. Well, a few years ago, my Mom subscribed me to a magazine that she knew I loved .. because I raved about it every time we visited their house! One day she whispered, "It's ... a Martha Stewart magazine ..." the name practically shameful after what she went through with her shenanigans inside of her "corporate life" ... but the magazine really is to die for ... and the only magazines I subscribe to and drool over each month!
It's called Whole Living ... and it's fabulous. It meshes well with our lifestyle, our goals for our family ... it's thoughtful, interesting, filled with recipes, gardening, cooking, living tips ... and I found myself pondering their monthly one-pager that goes by the name of 10 Thoughts on Whole Living ... I'd like to share it with you!
1. When you need to find your way, check your roots.
2. Your body knows how to heal itself; just give it the right tools.
3. Beauty is a mosaic, not a mind-set.
4. Wouldn't it be boring if the journey threw no curves?
5. Make eating more sensory: Think about experiencing texture and aroma as well as taste.
6. Flaws build character, not shortcomings.
7. Collect and curate simplicities that lift your spirits.
8. Challenge your brain the way you do your body.
9. If you can't stay, smile as you walk by.
10. Amuse and enrich your palate with varied, colorful foods.
I could easily reflect upon each of these in my day-to-day or week-by-week life ... as I think about my body image after having a baby (and how different I wish it were 10 months later ...), healthful eating and cooking, being friendly to the people who enter your life, even if you don't have time for a long chat - simply looking up, smiling, greeting someone with a 'hello' or 'good morning' - I've learned it's impossible to ignore people when you've got a ridiculously cute baby staring someone down that you may not want to talk to ;-)
So read, reflect. These 10 thoughts come from the March 2012 issue of Whole Living.
Tuesday, April 3, 2012

Saturday, March 24, 2012
... can you STAND it?
Well. Thomas has mastered yet another feat of physical strength and coordination ... let's see if you can guess what it is -
Can you STAND how cute he is in all of these pictures? I know that every time I look at him I just can't stand how big he is, how stinkin cute he is, how much he's grown ... it really has been a treat to watch. I just can't stand it anymore - he's getting so big so fast!
Can you guess his new skill? Hehe
To match his new "mature" skills, we invested in some new toys for Thomas. I had been hunting for a cruising toy courtesy of Fisher Price ... but the thought of spending $75 on this obnoxious looking (albeit interactive, fun, DAP, whatever ... for babies) toy, in addition to shipping and handling, and then trying to figure out where to put it ... only for him to outgrow it at a moment's notice (much like the jumparoo? <sigh> almost time to put that one away!) ... was really repulsive ... after receiving a gift card to Target from his Gramma and Grampa Haws, we were able to invest in some new toys from a brand that I am quickly falling in love with - B. toys! They are carried at Target, as well as other retailers ... I love the colors, the wood, the design ... and Thomas does, too! He is totally enthralled with the "bath toy" ship, captain, fish and life preserver ... he loves to open and close the door on top of the ship, and loved playing with the stacking-straining cups in the bath last night. He likes the noisy 'funKEY' chain, as well - it makes noise with out vomitting out the ABCs and 123s, has real metal keys (mmm so cool and soothing to those teething spots), and sort of matches Mommy's keys ... cool, huh?


The real prize? The Zany Zoo bead maze and .. err .. activity cube? I saw it at Target while shopping with Margaret ... fell in love with it ... cringed a little at the price ... and moved on. After our visit to the pediatrician on Tuesday, I was convinced that he needed this toy. Not only had he abandoned all interest in his "baby toys" at home, but he had loved playing with the bead maze at the clinic!! ... so thanks to Gramma and Grampa Haws, he has a new toy that he loves. It is so fun to watch him play - he will pinch the beads, try to move the little critters along their paths on top, fiddle with the animals that roll down the side, and, my favorite .. we are learning "open" and "close" on the side with four doors hiding animals behind them ... if I open them and say, "O.k. can you close this door?" and tap the animal, he will actually close the door. So cool! He likes to stand next to it, but he still pulls it over on himself from time to time ... so we have to watch him closely while he's standing next to it. With the alphabet on one side we can introduce the letters, animals (hello, vocabulary - the animals that coordinate with letters are not obvious - can you say c is for carp, n for narwhal and v for viper?), colors, shapes, etc. . . It is a beautiful, sturdy toy that he can grow with, I can live with, and we can all enjoy playing with.

 |
| Dad had to add a little protection and insurance ;-) |
 |
| ... watching the neighbors get into their van sure was funny! |
 |
| Can you tell by looking at my feet that I went "boomers" a second after Mom snapped this one? Good thing for fluffy diapers! |
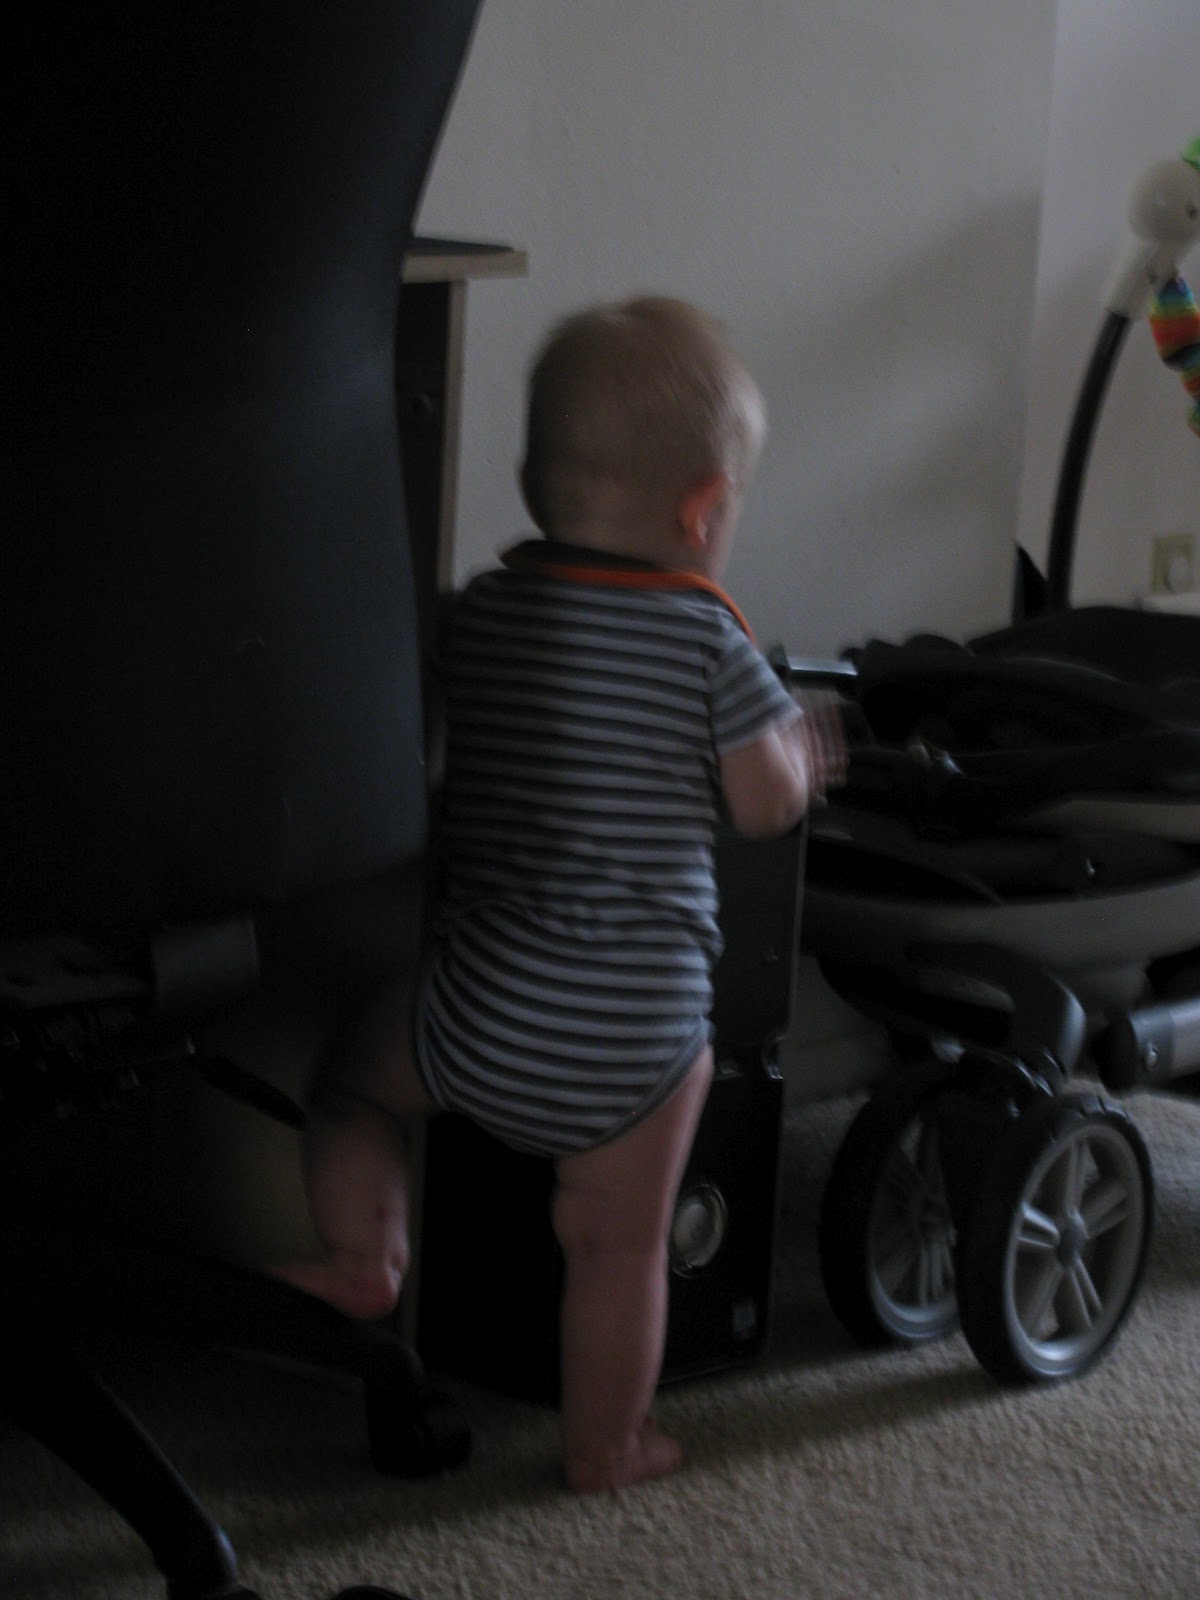 |
| The casters of dad's chair make a great footrest! |
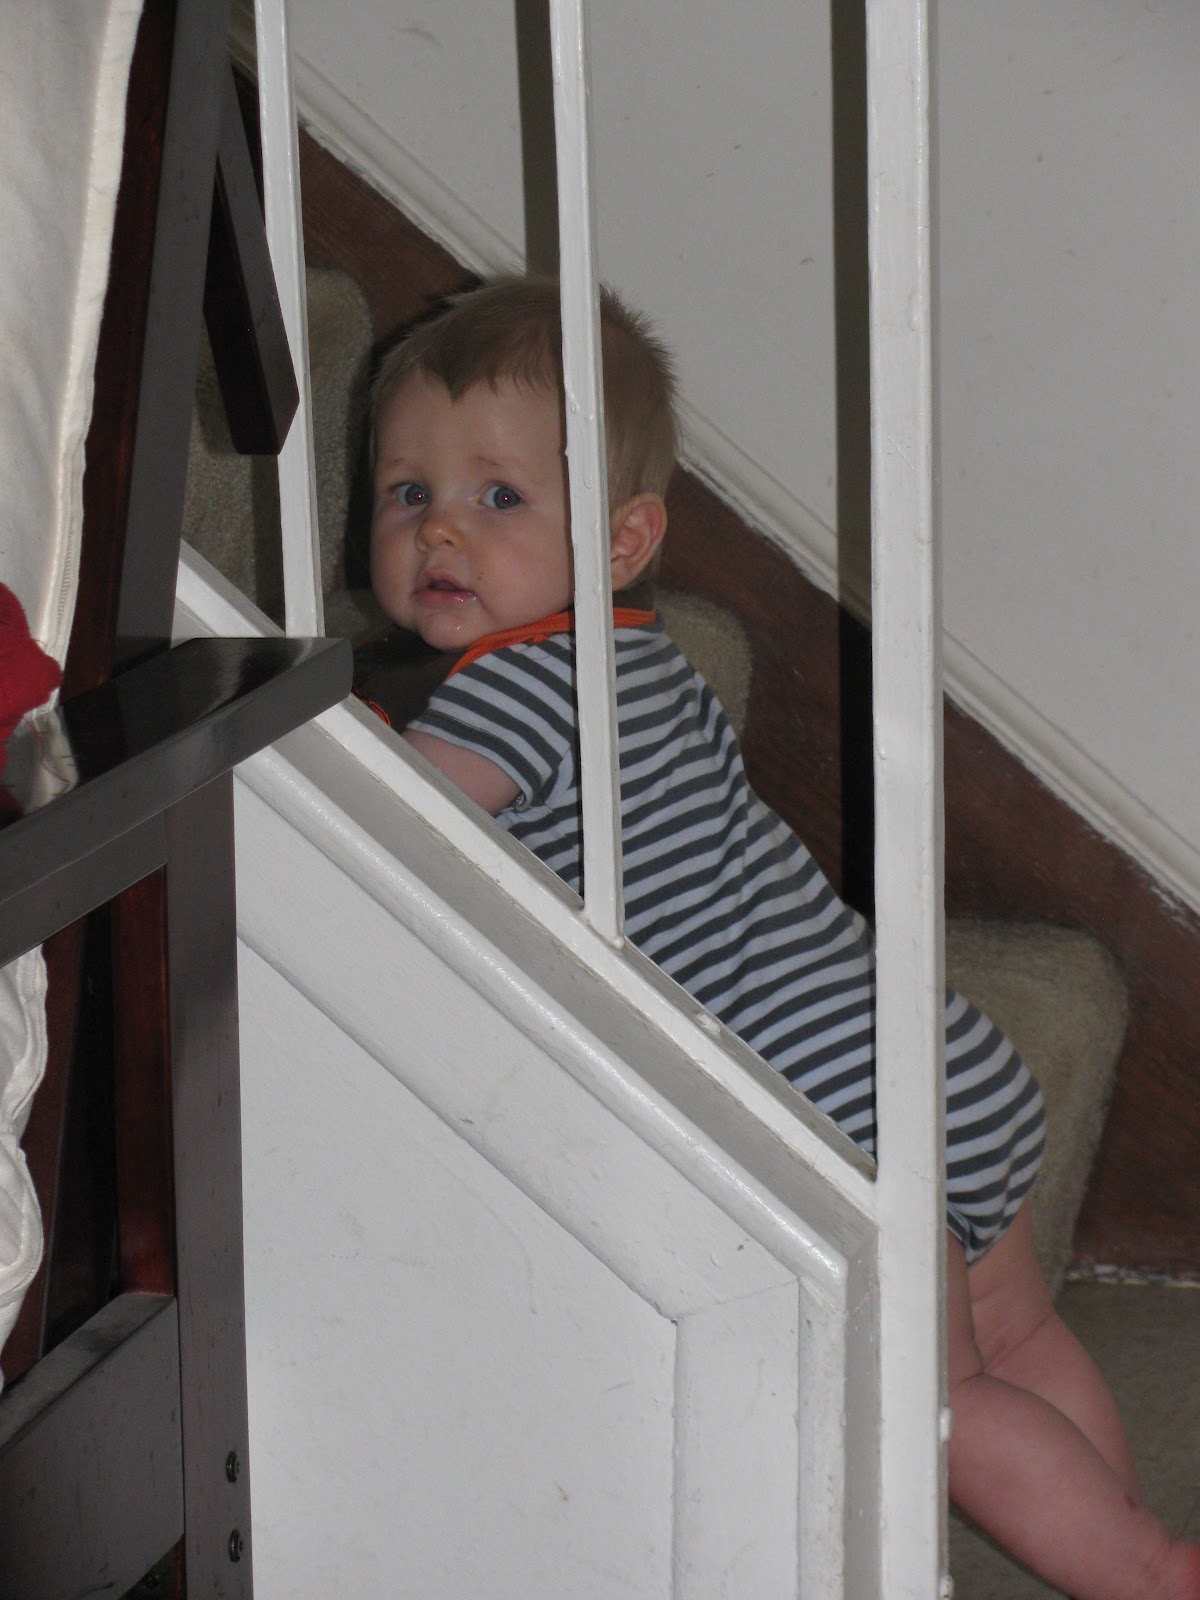 |
| Uhoh, better get that gate put back up!! |
Can you guess his new skill? Hehe
To match his new "mature" skills, we invested in some new toys for Thomas. I had been hunting for a cruising toy courtesy of Fisher Price ... but the thought of spending $75 on this obnoxious looking (albeit interactive, fun, DAP, whatever ... for babies) toy, in addition to shipping and handling, and then trying to figure out where to put it ... only for him to outgrow it at a moment's notice (much like the jumparoo? <sigh> almost time to put that one away!) ... was really repulsive ... after receiving a gift card to Target from his Gramma and Grampa Haws, we were able to invest in some new toys from a brand that I am quickly falling in love with - B. toys! They are carried at Target, as well as other retailers ... I love the colors, the wood, the design ... and Thomas does, too! He is totally enthralled with the "bath toy" ship, captain, fish and life preserver ... he loves to open and close the door on top of the ship, and loved playing with the stacking-straining cups in the bath last night. He likes the noisy 'funKEY' chain, as well - it makes noise with out vomitting out the ABCs and 123s, has real metal keys (mmm so cool and soothing to those teething spots), and sort of matches Mommy's keys ... cool, huh?


Additionally ... we've named the captain ... Curly Jefferson ...
after our favorite, awkward and strange video ...
featuring none other than ... Old Gregg!!
Friday, March 23, 2012
A Log Chapel Baptism
What a busy 10 days it has been!
A week ago we were surrounded by our wonderful family and friends for T's baptism - 2 good friends (1 old, 1 new), my entire family less a few uncles and nephews, Ryan's parents, and his aunt and uncle, Scott and Jeanine ... and our little family of 3 came together to celebrate what I came to call the Three F's ... I think it's the kindergarten teacher in me ... thinking in 3's ... initial consonant sounds the same ... either way -
Family -
Friendship -
Faith -
Those were the three topics that kept coming to mind all weekend. We felt so loved, supported and encouraged as a new little family as we took a dive into what is sure to be the stepping stone of our family's faith ... not necessarily our Catholic faith ... but just faith.
It was so important to be to consider each element of the f / f / f individually, while also reflecting upon how critical they are to each other ... discovering what faith means to our family, my Nelson family, Ryan's Haws family ... and feeling encouraged about our parents' choices and how they will influence our family choices as well ... I am eager to see how our road is paved through as we embark on our f / f / f adventure ;-)
Here are some photos from the weekend -
Following the baptism, we went for brunch at Uptown Kitchen ... our favorite place to pick up a great meal. The service was fabulous, the cake was amazing, the conversation was non-stop ... everyone had a great time! Our first guests departed following breakfast, while the rest of us took some time to relax, unwind, and for Thomas, catch a nap!
Sunday evening was very relaxed - including Thomas and Silas enjoying their first swimming pool adventures and a pizza party in the incredibly comfortable lounge of the hotel ... That night was an adventure - I had my first baby-free sleep over in the hotel just a few blocks from home! Marge, Gisela and Sophia invited me over for a hotel sleep over ... and it was wonderful to spend the night up late talking with my sisters! My initial reaction was, "Score! A full night's sleep!" ... but of course we were all up until nearly 1 a.m. and I was out the door by 7:30 a.m.
A week ago we were surrounded by our wonderful family and friends for T's baptism - 2 good friends (1 old, 1 new), my entire family less a few uncles and nephews, Ryan's parents, and his aunt and uncle, Scott and Jeanine ... and our little family of 3 came together to celebrate what I came to call the Three F's ... I think it's the kindergarten teacher in me ... thinking in 3's ... initial consonant sounds the same ... either way -
Family -
Friendship -
Faith -
Those were the three topics that kept coming to mind all weekend. We felt so loved, supported and encouraged as a new little family as we took a dive into what is sure to be the stepping stone of our family's faith ... not necessarily our Catholic faith ... but just faith.
It was so important to be to consider each element of the f / f / f individually, while also reflecting upon how critical they are to each other ... discovering what faith means to our family, my Nelson family, Ryan's Haws family ... and feeling encouraged about our parents' choices and how they will influence our family choices as well ... I am eager to see how our road is paved through as we embark on our f / f / f adventure ;-)
Here are some photos from the weekend -
 |
| One of his aunties brought him his favorite treat for breakfast - a Nana!! |
 |
| Gisela attempted to snap some pictures of Ryan near his office ;-) |
 |
| Nelson Ladies |
 |
| Post Baptism - Notre Dame's Log Chapel |
 |
| "Hey, nice hat! I'll trade ya my giraffe for it!" Silas + Thomas |
 |
| Fabulous cake courtesy of Uptown Kitchen |
 |
| Pudgey Baby - Up from a Nap |
 |
| Our Happy Family |
 |
| "Thanks for the icing, Mom!" |
 |
| "So this is where we'll be tomorrow morning ..." |
Following the baptism, we went for brunch at Uptown Kitchen ... our favorite place to pick up a great meal. The service was fabulous, the cake was amazing, the conversation was non-stop ... everyone had a great time! Our first guests departed following breakfast, while the rest of us took some time to relax, unwind, and for Thomas, catch a nap!
Sunday evening was very relaxed - including Thomas and Silas enjoying their first swimming pool adventures and a pizza party in the incredibly comfortable lounge of the hotel ... That night was an adventure - I had my first baby-free sleep over in the hotel just a few blocks from home! Marge, Gisela and Sophia invited me over for a hotel sleep over ... and it was wonderful to spend the night up late talking with my sisters! My initial reaction was, "Score! A full night's sleep!" ... but of course we were all up until nearly 1 a.m. and I was out the door by 7:30 a.m.
The rest of our company took off for Minnesota, leaving behind 1 last visitor ... Margaret stayed for a few extra days of R&R - I adore spending extra time with her. We took it easy, relaxing after a busy weekend, running some errands, playing games with Thomas and enjoying fabulous meals together. It was hard to wave good-bye to her when she left on Thursday morning.
So here we are. Friday night. The house is absolutely silent. It's been raining all day. Thomas has been a grump as his top two teeth are getting ready to pop through. Ryan's back to work on his dissertation (is he ever not working?). I have this odd feeling that I should be getting back to work following a long vacation ... and then I remind myself that I am always working this job of mine - Mom-On-Call!
Tuesday, March 13, 2012
Baby's First Hair Cut
 I was making a sandwich ... trying to hold back the tears ... T was napping ... and the phone rang.
Ryan answered, chuckled and greeted the caller ... it was my sister Gisela.
She was asking for the Barber.
 I took the phone from Ryan, said a pathetic "hey ..."
Gisela said, "What were you thinking?!"
Then the tears came.
I cut Thomas' hair this afternoon ... it was bright and beautifully sunny outside ... Ryan and I had been commenting on how his hair was in his eyes, how long it was ... I had been thinking he should probably have a trim before the baptism on Sunday ... and let's face it, there is no better time then the present, right?
 We laid out a towel in the grass, gathered our supplies - all of our little brushes and combs, a teething biscuit for distraction, an envelope for collecting those precious little bits of hair that he was born with. That's the hardest part, I think ... I helped make the hair that I just cut off of his head. <sigh>
A few minutes in our photographer (Ryan ...) said, "Woah, you're really going short." I didn't have the view or the objectivity, I guess, to realize how short it was! Hahah Well once you start, you can't really go back!
Half way through, T became restless, tired, grumpy ... so the last half was a bit rushed, and eventually all efforts were abandoned ... so he's left looking a little lopsided ... and so grown up! So the debate begins - fix it up at home or take him with me to the salon tomorrow night? I think we'll go to the salon ... This barber is officially retired.

Tuesday, March 6, 2012
Chicken Nuggets for Baby
 |
| chicken "nuggets," carrot puree, corn starch, cornmeal |
After a few google searches I found nothing .. and I left my mind a-reeling .. because how on EARTH can you have breaded anything w/o a binder like egg, or a little greasy-goodness like olive oil?
Well .. an epiphany hit me .. and this is what I came up with:
Chicken Nuggets for a Baby ~
Ingredients -
1 chicken breast (because you'll want some for yourself, too)
1 portion (we used an ice cube of frozen homemade) baby food puree (carrot was our choice)
1-2 t. water
1-2T cornstarch
Cornmeal
Method -
Cut your chicken into the desired shape for your child's chicken nuggets .. from what I've learned in feeding Thomas .. this shape is totally up to you .. considering T has no teeth, it makes the most sense for us to make these strips any shape, and then break them down for him into pincer-grasp-sized pieces as he is eating.
If you have remaining chicken (that won't be eaten in the next 2-3 days) .. go ahead and make yourself some strips. Remember, the thinner your strips, the faster they'll cook! We made our strips about 1/4" thick .. and our "Nuggets" were strips cut into thumb-length pieces.
Here is the breading process -
 |
| cornstarch / carrot puree / cornmeal coating |
Following the breading process, go ahead and plunk the chicken bits onto a cookie sheet that is lightly greased with olive oil. Olive oil has great health benefits, so I wouldn't hesitate before using it to oil a cookie sheet being used for baby food. Would I slather baby's food in it to cook? No .. but as a sheet-lubricant .. it is perfect!
Bake -
We set our oven to 375* F .. flip your little nuggets after 7-10 minutes .. and then set your timer for another 7-10 minutes. Check them out - do they look great? Then they are done. Want them a little browner? Then you'll have to bake them longer .. but they will just dry out .. so go ahead and remove them from the oven and let them cool.
The cornmeal will give the chicken a great crunch .. and the texture is fabulous. Ryan came into the kitchen to take pictures for me and requested that I make ours in the same manor. So I did. And they were great ..! The only change for ours? I dusted them lightly with Penzey's Sunny Spain - a little lemon-garlic-pepper flavour.
Thomas' initial review? He liked them! Would have captured a photo, but we were all finally eating dinner together <3 Enjoying the moment.
I hope you all enjoy the recipe .. I know our pediatrician recommended staying away from wheat and egg until 1 year .. and considering T has no teeth .. he has a wild desire to feed himself and has begun to refuse a spoon unless he's the one holding it .. so it feels great to be offering him meats, as well as new textures (the corn meal offers a great texture variance to steamed meat pieces).
 |
| The final product! |
Monday, March 5, 2012
My New Favorite Way to Take Pictures of T
So awhile back in my WTE Mom's Group, some women were posting collage style pictures of their little ones ... and I simply had to give it a go ... because what captures baby's personality better than a photo collage?

My first effort involved just over 20 pictures that I took over the course of less than 5 minutes, resulting in the following "Hurrah! I'm 8 Months Old..!" collage. I think it is absolutely perfect .. for practical as well as sentimental reasons, seeing as he chose to begin crawling just days after this "mini photo shoot" ... the black and white makes it a bit timeless .. and does a magnificent job of camouflaging the "pile of stuff" in the background pile that still has yet to be delivered to the Good Will. You can also pick-and-choose which pictures you'd like to use, which eliminates those crummy pictures you capture where baby moves suddenly and you are left with nothing but fuzz from these "amazing digital cameras."

I used Photobucket.com to create my collage ... uploading my pictures to my super-private profile ... and then "editing" them into a collage. You have the option of organizing the photos in any number of ways, using between 2 and 16+ pictures. Additionally, you can add captions to the pictures, as well as edit the coloring .. which is how I managed to find the black and white above ... and this "color rotate" effect, below. The options really are endless! You can also preview everything before you "save" the collage ... (ps. I eliminated the borders in my collage, maximizing the picture space. You can slide the pictures around in their little boxes by "grabbing" them, too)
One challenging aspect, however, is "sharing" the pictures .. because you are given those complex alpha-numeric "codes" to type in ... don't be fooled as I was the first and second time ... even tho it doesn't acknowledge that you have accurately "guessed" the code, your image has been sent off. I have chosen to simply right click each image I create and save them to the appropriate folder on my computer. Works just as well!

My first effort involved just over 20 pictures that I took over the course of less than 5 minutes, resulting in the following "Hurrah! I'm 8 Months Old..!" collage. I think it is absolutely perfect .. for practical as well as sentimental reasons, seeing as he chose to begin crawling just days after this "mini photo shoot" ... the black and white makes it a bit timeless .. and does a magnificent job of camouflaging the "pile of stuff" in the background pile that still has yet to be delivered to the Good Will. You can also pick-and-choose which pictures you'd like to use, which eliminates those crummy pictures you capture where baby moves suddenly and you are left with nothing but fuzz from these "amazing digital cameras."

I used Photobucket.com to create my collage ... uploading my pictures to my super-private profile ... and then "editing" them into a collage. You have the option of organizing the photos in any number of ways, using between 2 and 16+ pictures. Additionally, you can add captions to the pictures, as well as edit the coloring .. which is how I managed to find the black and white above ... and this "color rotate" effect, below. The options really are endless! You can also preview everything before you "save" the collage ... (ps. I eliminated the borders in my collage, maximizing the picture space. You can slide the pictures around in their little boxes by "grabbing" them, too)
 |
| T Attacks the Camera - Watch out! |
From BSP to UFO - Making Progress
 Last moth I posted about a my first jelly role of fabric ... and while I expected to have made a lot more progress than I have, I am pleased to report on all of the work I've done!
Shortly after my post I brought all of my squares downstairs to show Ryan ... and to sort of "mock up" the quilt top. Since the squares are all placed "on point," the quilt is assembled diagonally from the top left corner to the bottom right corner as opposed to being put together from top to bottom. Typically, people will use a design wall (for example), to lay out their quilts, and then the pieces can be removed as you need them, or you can easily change out sections of your quilt with out worrying about messing things up ... I ... well ... I chose to lay my quilt out on the floor in a main thorough-way of our apartment ... and then tape all of the pieces together with masking tape in the strips in which they would be assembled, labeling each strip with a number and an arrow indicating which direction was "up" ...

This strategy worked well until it came time to move all 17 strips upstairs to my sewing area ... and then came the question of how on earth to store the strips in our limited space ... so I immediately began sewing strips together ... I spent about 2 days sewing at almost every opportunity ... running up and down the steps, bringing up 2-3 strips at a time ... and sewing them together ...
This got tiring.
Very tiring.
Not to mention every now and then Otto would break the barrier and accidentally stomp on a few strips, which chose to stick to his rough paws rather than their neighbor ... regardless of the masking tape ...
So I finally caved in to gently stacking the strips on top of one another and carrying them upstairs ... laying them out on Otto's crate ... removing them one at a time, or in sections ... laying it across the bed while I worked ... amazingly only flipping about 10 of the 300 squares during assembly. <thumbs up> Would i do it this way again? No chance. Did it work? Yep!
 Well .. am proud to say that I am about halfway done with the quilt top! It is absolutely beautiful. I had to make an extra trip to Erica's to buy more of the tone-on-tone border fabric because of a bad cut that wasted about 7-inches of my fabric ... grr ... but I received the fabric free of charge, so I can't really complain. I have the rest of my sashing triangles cut and ready to go! Assembly at this point has been simple and quick, with pressing taking the most work ... but I am honestly doing my best pressing ever ... and for that I am proud.
I think I am going to give this quilt away as a "Pay it Forward" 2012 gift to a certain someone that I owe a quilt ... <3
(**BSP - Barely Started Project / UFO - Un-Finished Object)
Subscribe to:
Posts (Atom)